My Travel Europe blog – living the dream
How to Design a Caravan
Caravan Construction
Caravan Beautification
Caravan Electrical Connections
Internet Connection While Traveling
Caravan Survival Tips
The journey begins!
It seemed I spent the most time in the beginning, staring at the metal and wondering how on earth I was going to attach the wood to it without piercing a hole through to the outside.
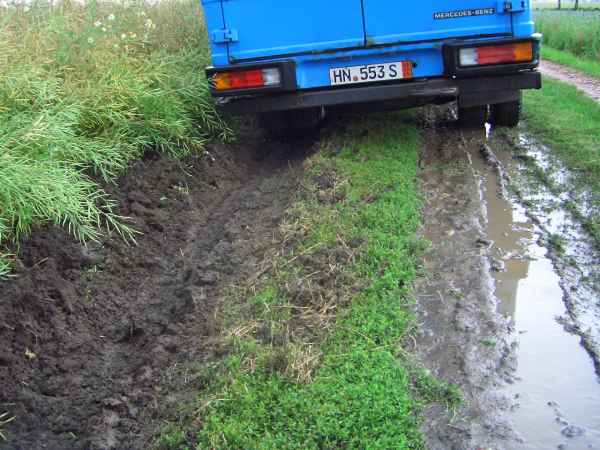
Here is a back view of how I got stuck in the mud as shown on the first page. Unfortunately, this older model’s back tires were not locked, one set would often spin on its own when things got a bit slippery. It helped a lot once the load became heavier.
But before I started with the wood, might as well do some cheesy pimping in the front.
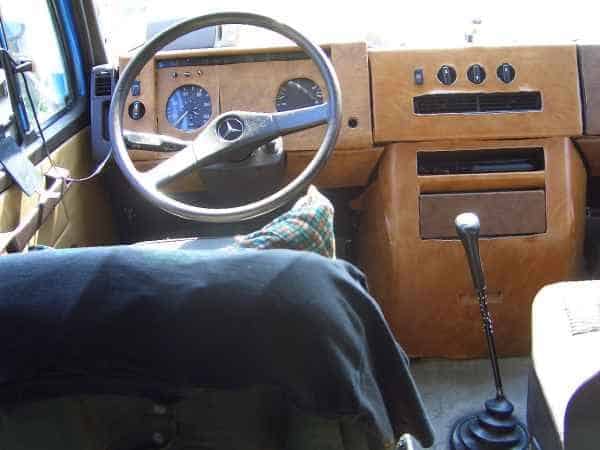
I bought some fake and also real leather, and just glued it on the ugly brown plastic dashboard. I have yet to glue on the red real leather to the steering wheel and the stick shift. I glued zirconium studs on the shift handle, but they have been knocked off since then. Will try again but with a see through layer of rubbery plastic. Cheese is the name of the game for the front cabin area, which I want to look like an ultra cheesy professional truck driver would choose – just for the joke of it all (and to help conceal the fact that there is a caravan home hiding in the back). A hanging blanket behind this front area now hides the back, if necessary. I still want to cheese up the front a lot more.
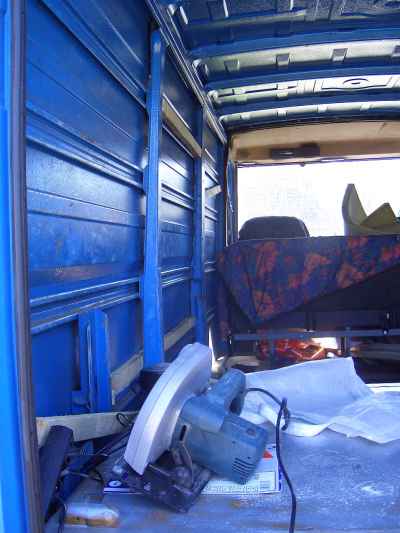
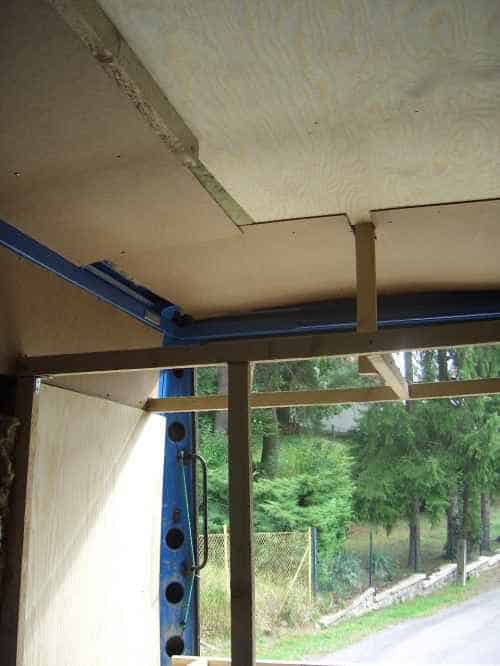
Much of the wood I simply wedged in where I could, and screwed it in where necessary, making sure never to risk piercing through to the outside.

But always with a layer of bitumen between each wood and between the wood and metal. As suggested by a friend who built and designed his own recording studio. He argued that the layer of bitumen will prevent massive squeaking once the whole things starts jiggling and moving. Made a lot of sense.
Basically I just took a stiletto knife, sliced off a slab the length and width of the wood, and using my propane camping stove, I would run the bitumen (basically thick tar paper) over the open flame until it became hot and almost droopy like. Then I would quickly stick it onto the metal and hold it firm until it held onto the metal by itself. I’d put a small strip of bitumen at every joint and at every contact point with the metal and other pieces of wood.
It was a lot of extra work but well worth it. Otherwise I think the endless high pitched squeaking would eventually drive me crazy.

For the spaces between the wood planks and before I would put over top the rockwool (like fibreglass but of different type of material – not sharp to the touch, and fireproof), I would heat stick wider strips of bitumen in the flat stretches. This was highly recommended to me by my studio friend because he argued it would absorb the vibrations of the metal when driving. Otherwise, the metal would vibrate like a big metal drum. Before I started working on this caravan, it was EXTREMELY loud whenever I would drive somewhere. Before I stuck on the bitumen, rapping on the outside with my knuckles would create a loud hollow sound. Now it is very muffled. This extra step was definitely worth it.
Found friends who would let me work on it in the country next to their cottage/house.
Would often take a couple of days off during the week, checking my email from my PPC every two hours.


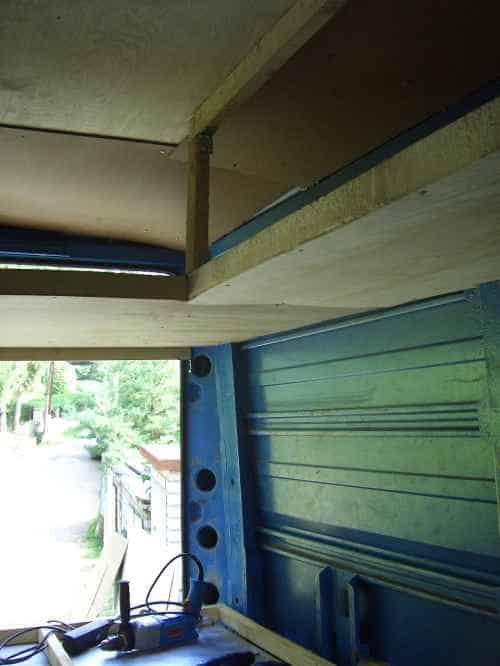
Once I secured the wood slabs along the sides, it was a simple matter of connecting wood with wood. Again, with a small bitumen strip between the wood at each joint to prevent squeaking.
I would use metal L corners to hold the wood planks together.
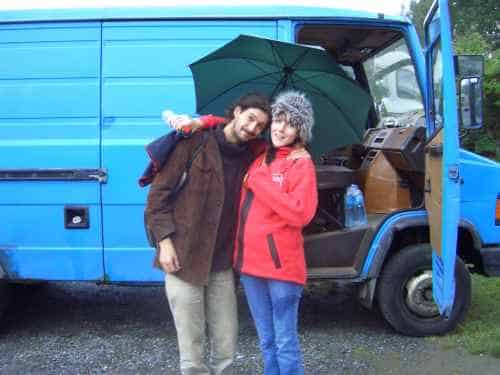
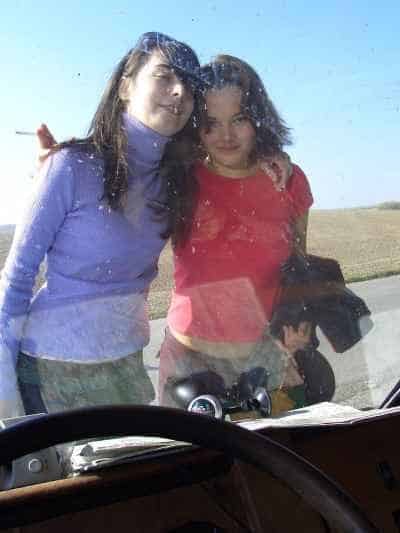
Even before it was finished the caravan beast was a popular idea among the more wild girls < .

Hardly finished yet, but off to my going away party!

Hey I don’t drink and drive, honestly.

Managed to get 12 people in the back on the way to the party and of which 4 crashed over afterwards – my first caravan house guests!

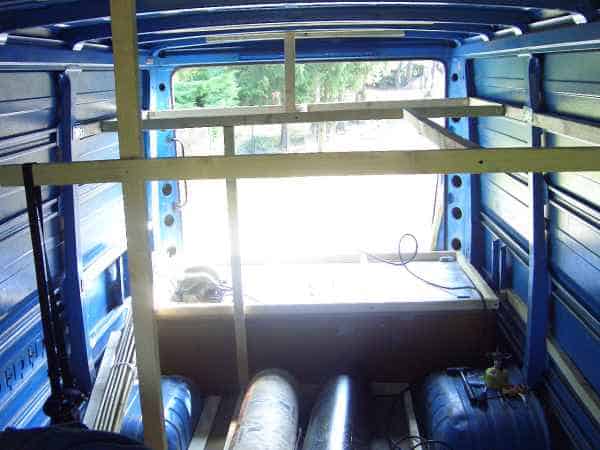
Below is the safe, the discovery of which was just as much a miracle as when stumbling on the truck or many other flukes while building. I was in a rush, as usual, and the first second hand shop I went to had very unsatisfactory and small safes. I was about to leave when the store owner said, “Well, we could always consider the big kick a*ss safe in the back.” They were using it for their own book-keeping records, and when my eyes landed on it, I was convinced this must be it. It was an old fashion one, very heavy, and a serious model to the degree that it would take a professional locksmith 30 to 45 minutes to break into it.

I looked at a few more stores and then came back with the truck later in the afternoon. It was so heavy four of us strong guys could barely move it. We struggled to get it into the caravan when I realised I forgot to measure it first before buying it!
But fortune would have it that it just barely fit inside, with about half a cm of leeway at each corner!
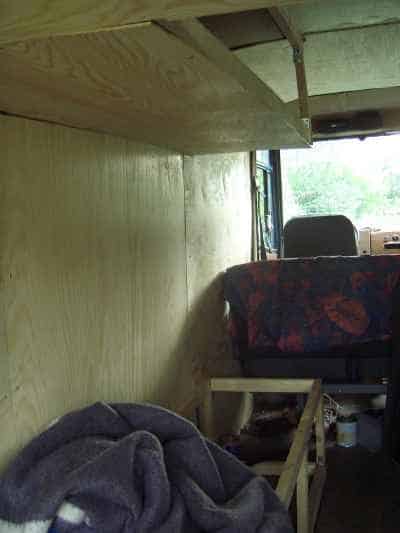
The frame on top of it, shown to the left, will be covered with bamboo strips tied to it, and over top of that thin foam strips used for camping. And on top of that a 10cm thick foam mattress. This will keep it light so that it could be easily lifted and pivoted, for the purposes of getting into the safe, now lying on its back (was made to be standing).
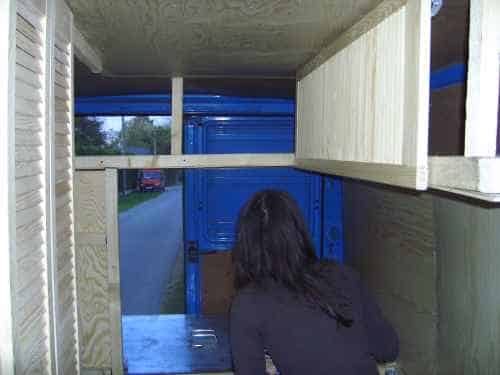
Make sure to have enough beams secured along the walls and roof so that you can fasten to them the plywood holding in and covering over top of the rockwool. Which basically just sits over top of the bitumen and is sandwiched in. It was rather tricky to hold up the rockwool slabs and put the plywood into place. Especially since I was working on my own!


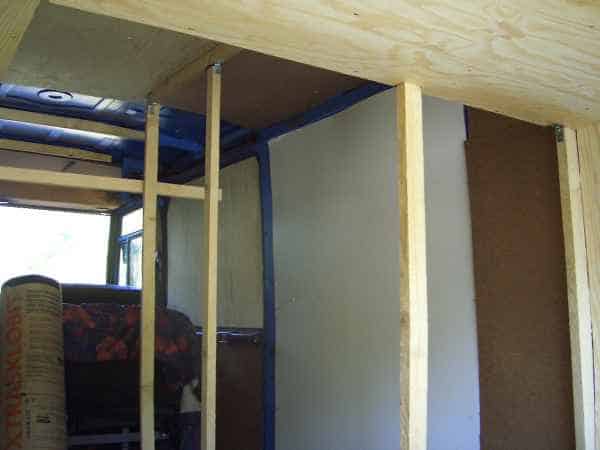
But I was fortunate to occasionally find a willing helper.

 The side bed first appears, left.
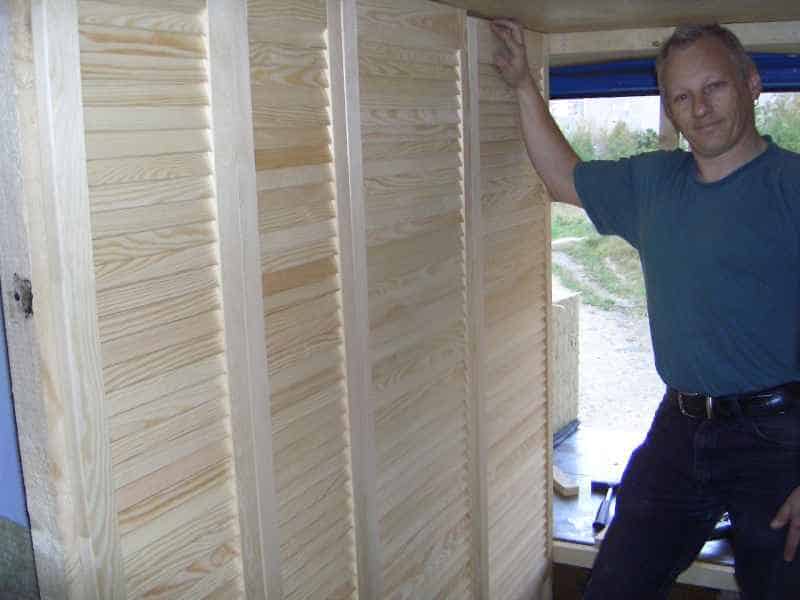
Below, I went to Baumax and looked around for closet doors. Another miracle. It was amazing that, from their limited sizes, I found some that fit perfectly. I would suggest you do your measurements first and not rely on the sheer luck which was helping me all along the way. Thank you God!


Immediately after putting on the surface wood, like these closet doors to the left, you want to varnish them before greasy fingers get a chance to leave permanent smears on them. After it was too late, I was suggested it would have been better to use some sort of bee’s finish rather than varnish. Apparently it brings out the colour of the wood and grain better.
Another helping friend, and a totally perfect fit. A wonderful “accident” indeed. If you are not so blessed with such insane fortune, it would be better to measure these premade doors first and plan your basic construction around them.
Starting to look like the cottage on wheels I envisioned.


The view I would see many times in the future, as this is where my head would lie on my bed, often also my workstation during the day, with laptop on my stomach.
Now just to find a nice female companion(s) to travel with!

But with every freshly built home, a slow year of gradual caravan beautification follows.
Back to My Life – The Gypsy Traveler
Copyright © KENAX, by Karel Kosman – All Rights Reserved Worldwide.
Home » Travel Europe » The travel monster campervan »We are a family operation managing private custom boat tours in the beautiful Palawan area, and are happy to help travelers with their plans through the Philippines, having traveled a lot of it ourselves and planning to visit it all. These pages in this section cover my various solo travels through Europe before meeting my wife.